This is a common question that comes up anytime someone decides they want to sell an item that they crafted. Oddly, the most common things that people take into consideration have the least to do with how to actually price their item. Because of this, many people price their crafts in a way that won’t optimize their money.
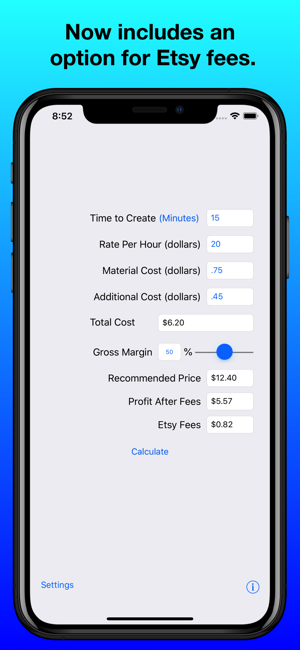
The major aspect of pricing that gets ignored is your own costs. Often, people are good at including the cost of the material to make the item, while important, that is just the tip of the pricing iceberg. Many people forget to include the cost of tools and other side materials (glue, paint, shipping, and even electrical expenses) needed to finish the project. The project may only use a small amount of these materials, but they can add up over time. It is also important to include fees and other taxes that might affect the price. If you are selling an item through a service that charges a percent of the revenue, or a simple fee for each item then that needs to be accounted for in your pricing. If you don’t, then you run the risk of losing money with each sale.
But, the largest factor that many beginning crafters ignore is the cost of their own labor. You have to pay yourself something for your time. It is important to figure out how long the item will take to make, and then use that time to multiply by an hourly rate for yourself (often somewhere between $12-$20 an hour, or even more if it involves specific skills). You can then add that to the material costs and the various fees required to sell the item.
The previous steps will give the cost to make that particular item, but we can’t stop there. It isn’t enough to simply break even, we still need to make a profit. So, we need to figure out a profit margin.
Gross Margin = [(Total Revenue – Cost Of Goods) / Total Revenue] X 100
So, using this, if you make $100 on an item and it costs you $50 to make it, your gross margin for would be: 50%. That is often a good starting place to come up with a price.
(100 – 50) / 100 X 100 = (50) / 100 * 100 = 50
Once you come up with this number, there is some value in looking at other similar items for sale and comparing your price to theirs. While you do this, take care to avoid comparing your handmade item to mass produced items. Also, pay attention to the features and additions that you might have added to your project. If you are making fully customized items for each customer, then charging extra is understandable. If your item has a unique style or design then you deserve to make extra for your effort in coming up with that design. But, if the item is identical to an already existing item then a similar price would be warranted, but also take some time to consider changes that you could be making in order to increase the value, or lower your costs. Can you add a unique feature to justify a higher price? If the item is worth your time to make and sell, then you should be able to find a way to make this work. If not, then back to the drawing board it is.
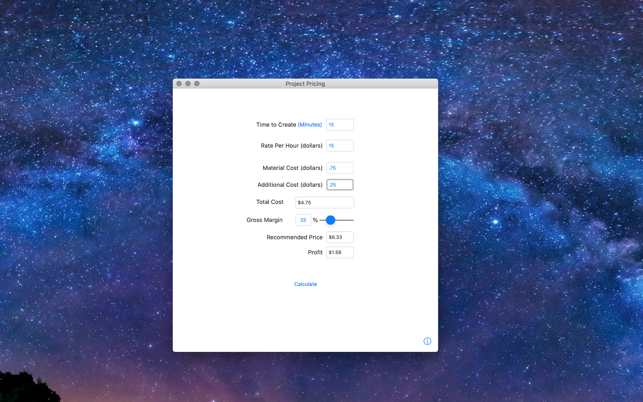
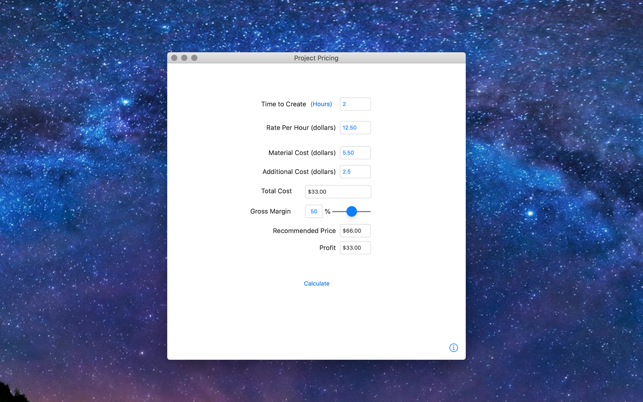
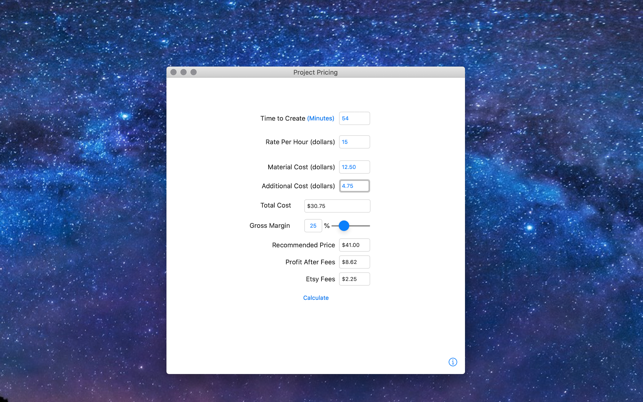
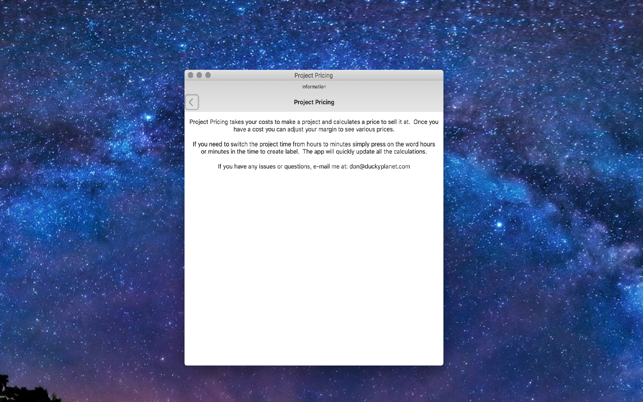
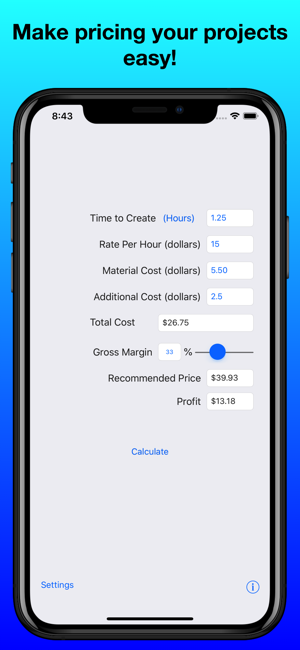
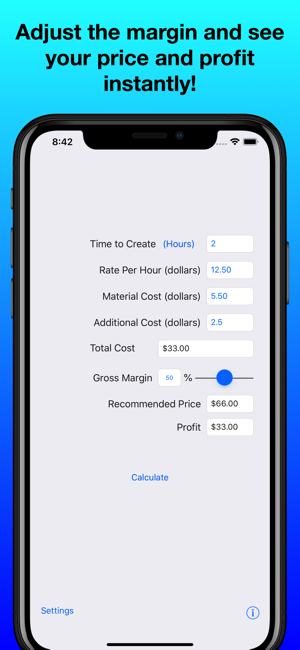
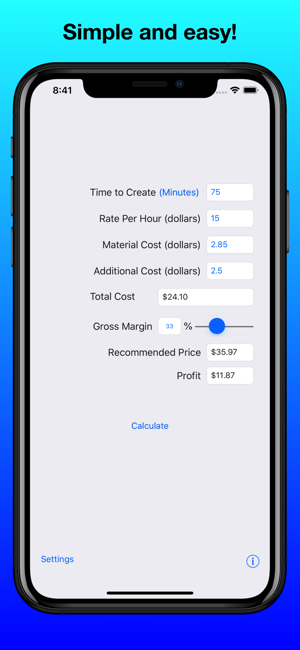
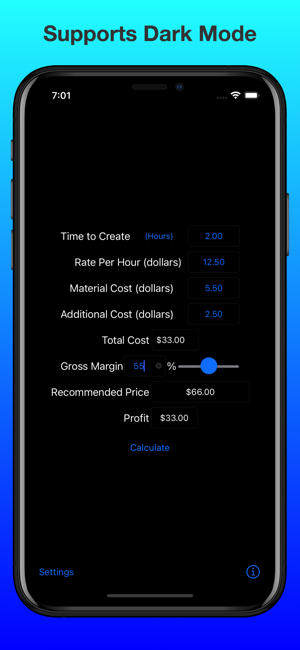
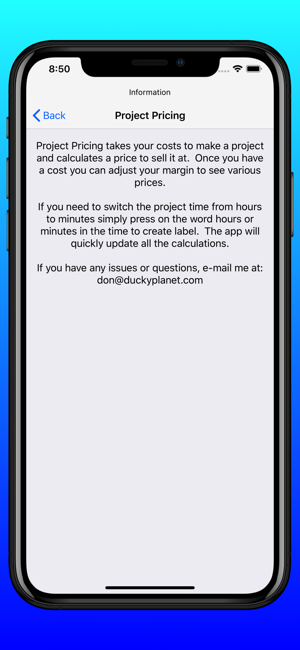
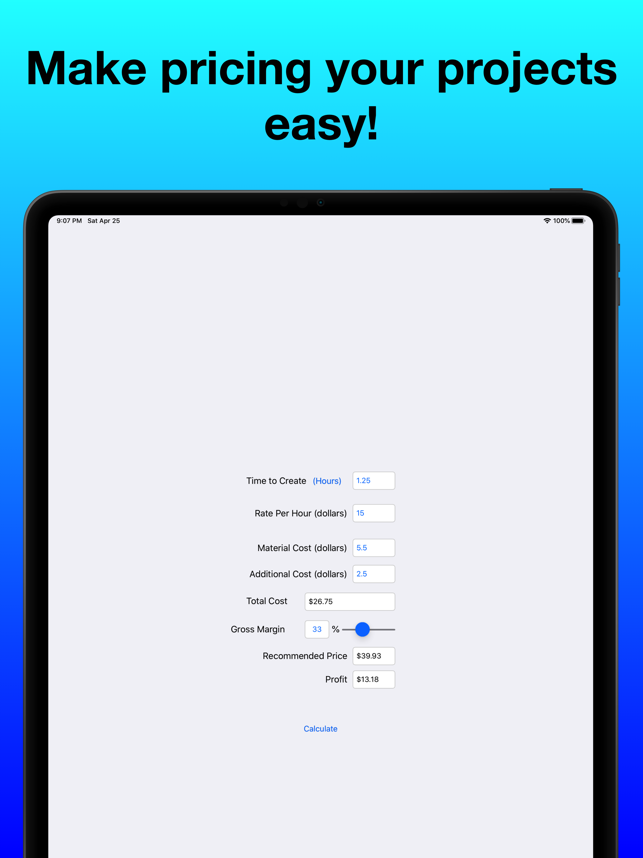
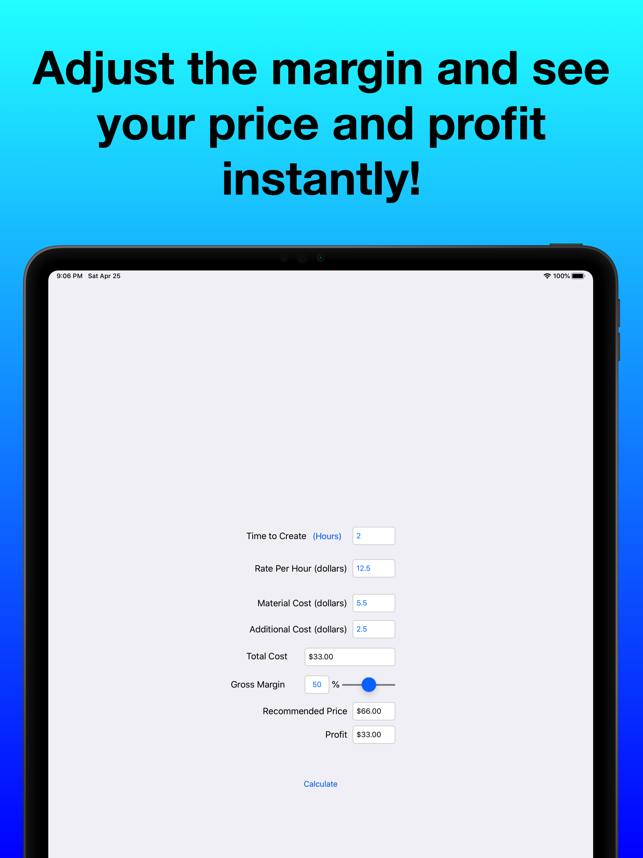
If all this math seems a bit tedious and difficult, then perhaps you should look at my Project Pricing App. It takes all of these factors into consideration and will quickly give you a suggested selling price. It also allows you to adjust any of the numbers in order to see how each number can change your final cost and sales price.